Indulge in the luxurious taste of Red Velvet Thumbprint Cookies, where the classic cocoa-infused red velvet meets a creamy cheesecake center. Roll them in sparkling red sugar for a festive touch, and enjoy the perfect blend of textures and rich flavors.

Add a pop of festive color to your holiday cookie tray with these red velvet thumbprint cookies.
Kids will have a blast rolling and filling the pretty red dough balls.
Top with extra red sanding sugar for cookies as fun to make as they are to eat!
These red velvet thumbprint cookies are perfect for holiday baking, adding to cookie platters for cookie exchanges or holiday gatherings or great for leaving out for Santa Claus.
Ingredients
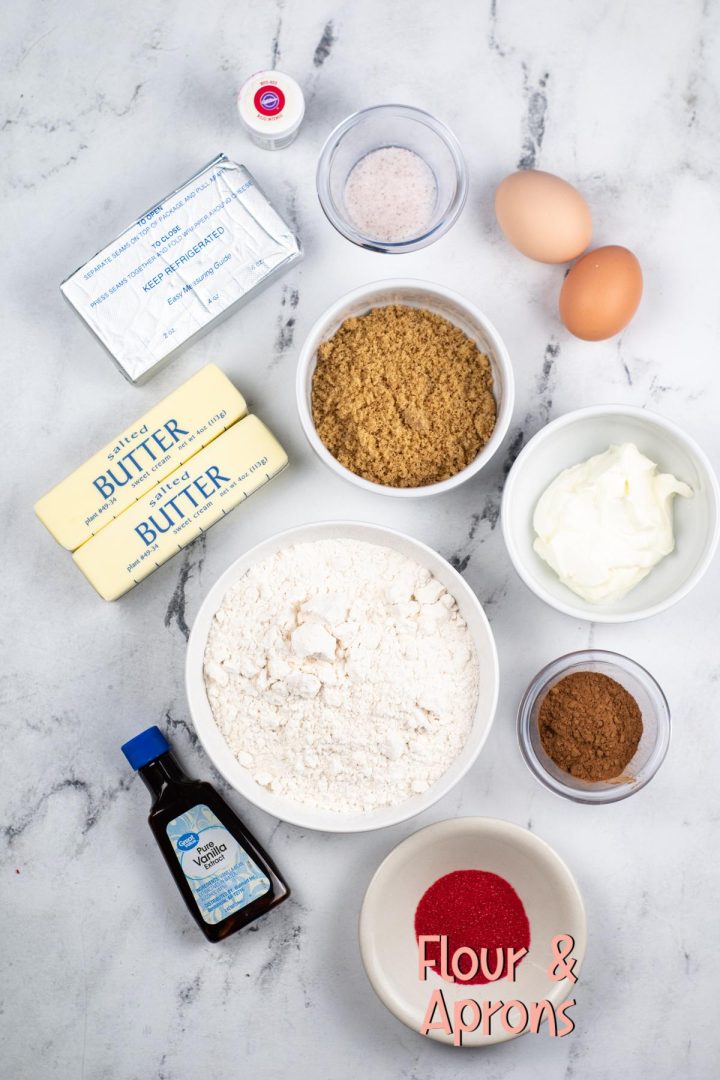
Butter: Use high-quality, unsalted butter for the best flavor and texture. It should be softened to room temperature for easy creaming.
Brown Sugar: This adds a rich, molasses-like flavor to the cookies. Make sure it's fresh and soft.
Egg Yolk: Separate the yolk from the white cleanly to ensure no whites get into the mix.
Vanilla Extract: Pure vanilla extract will give you the best flavor over imitation vanilla.
Flour: Standard all-purpose flour works best for these cookies. Be sure to spoon and level when measuring, rather than scooping, to avoid adding too much.
Cocoa Powder: Use unsweetened cocoa powder for that classic red velvet taste.
Salt: Just a pinch to balance the sweetness and enhance the flavors.
Red Gel Food Coloring: Gel food coloring is more vibrant and won't thin out the dough like liquid food coloring can.
Red Sanding Sugar: This gives a festive look and a slight crunch to the cookies. It's coarser than regular sugar and sparkles beautifully.
Cream Cheese: Full-fat cream cheese will give the filling a rich and creamy texture. Make sure it's softened for smooth mixing.
Sugar: Regular granulated sugar for the filling to sweeten it just right.
Sour Cream: Adds a slight tang and creaminess to the filling. Use full-fat for the best flavor.
How to Make Red Velvet Thumbprint Cookies
Prepare the Filling:
Start by making the filling since it needs time to chill.
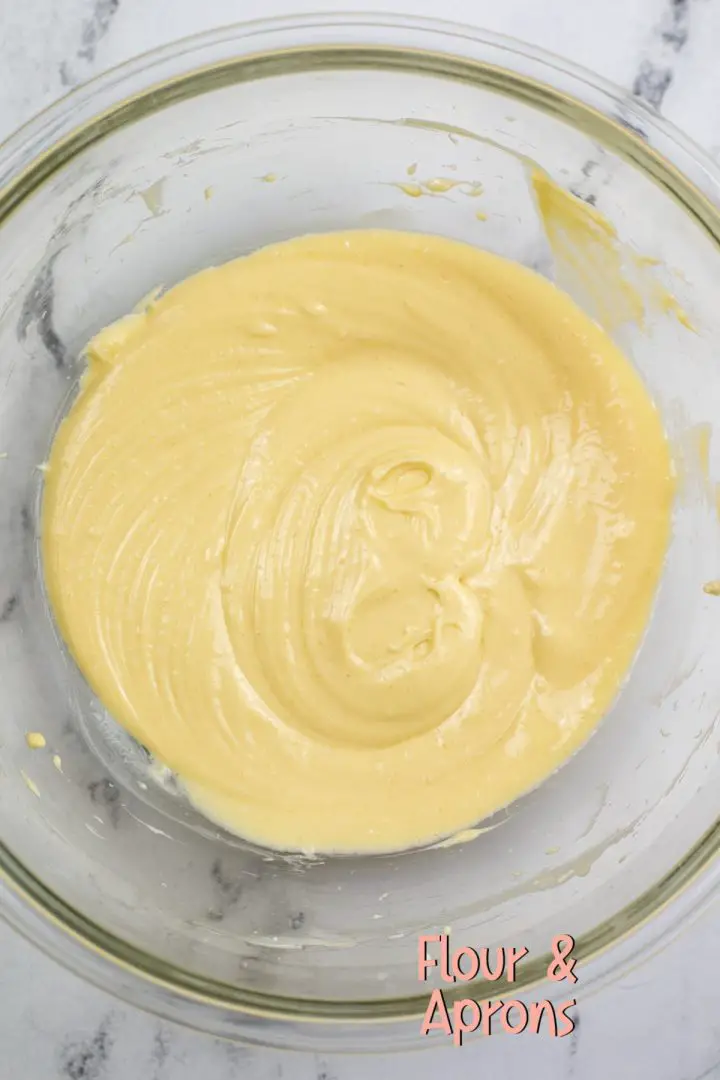
Beat the softened cream cheese with sugar until smooth, then mix in the salt, vanilla, egg yolk, and sour cream until well combined. Cover and refrigerate for at least 30 minutes to firm up.

Make the Cookie Dough:
In a separate bowl, whisk together the flour, cocoa powder, and salt.
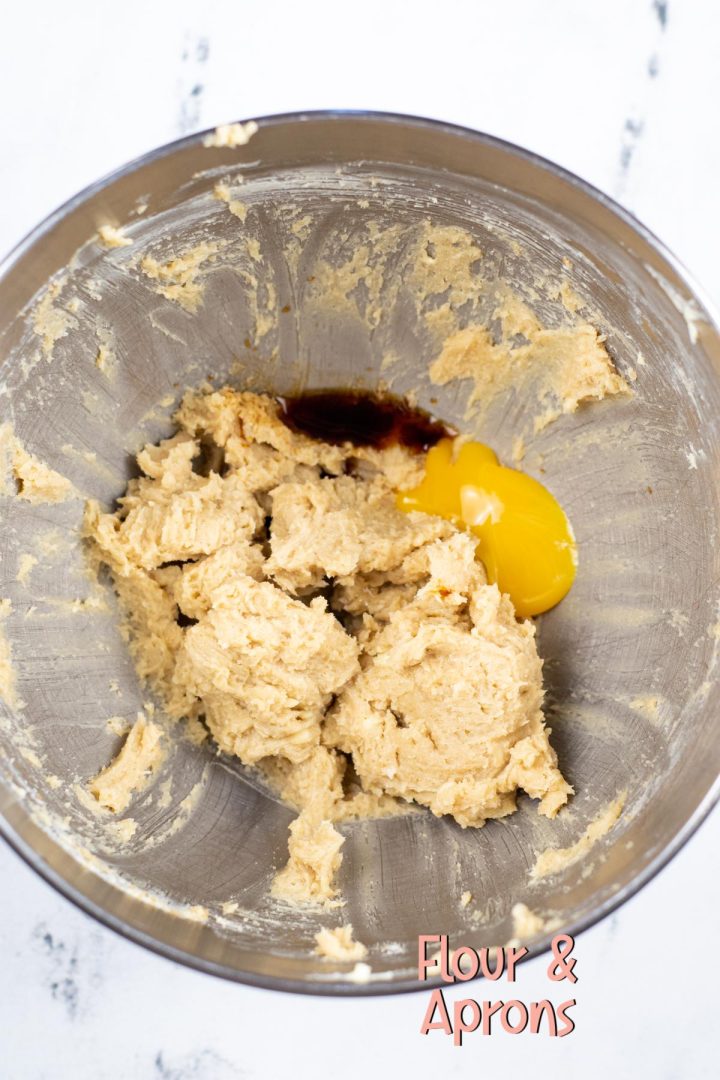
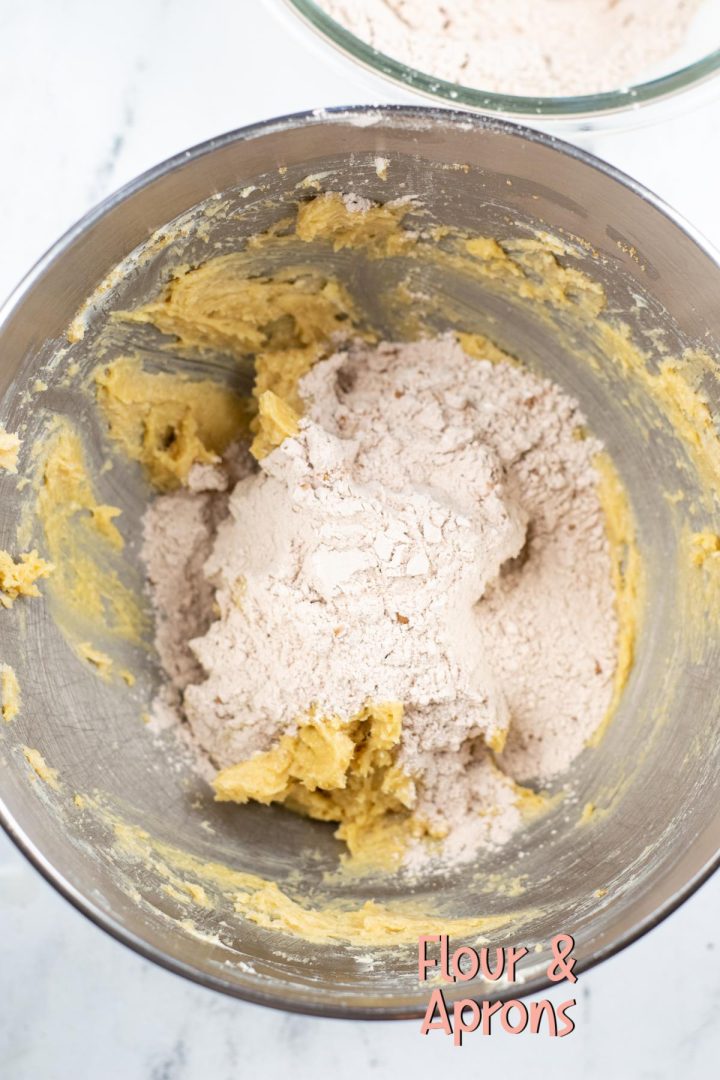
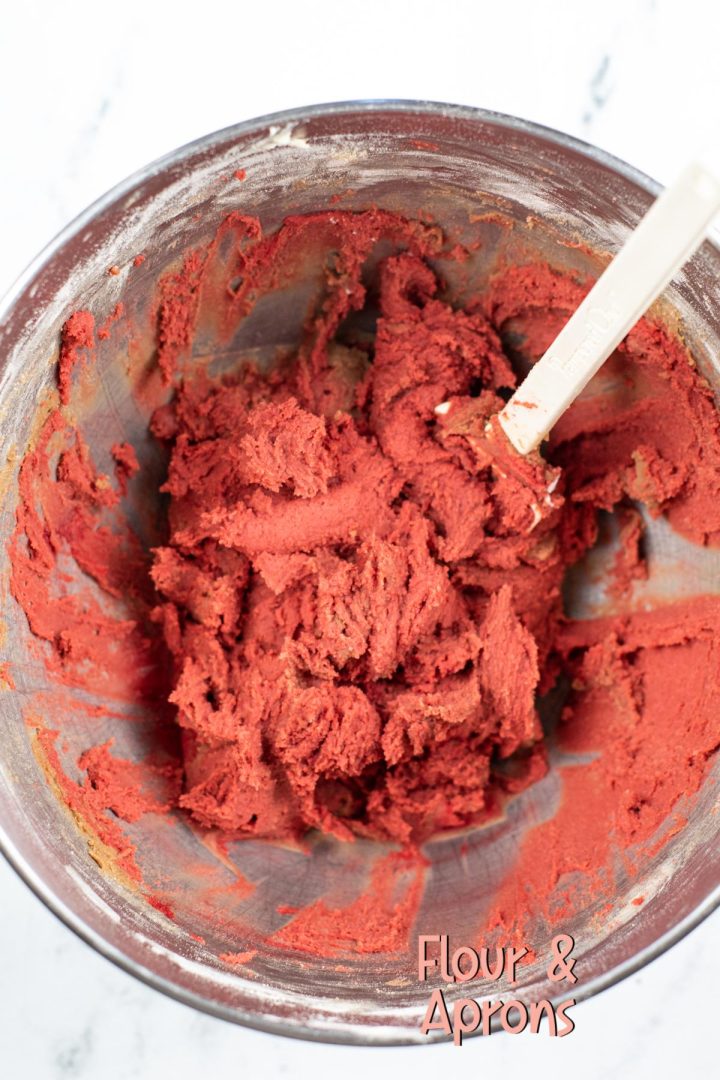
In the bowl of a stand mixer, cream the softened butter and brown sugar until light and fluffy. Mix in the egg yolk and vanilla, then gradually add the dry ingredients.
Blend in the red gel food coloring until you reach the desired shade of red.
Shape and Sugar:
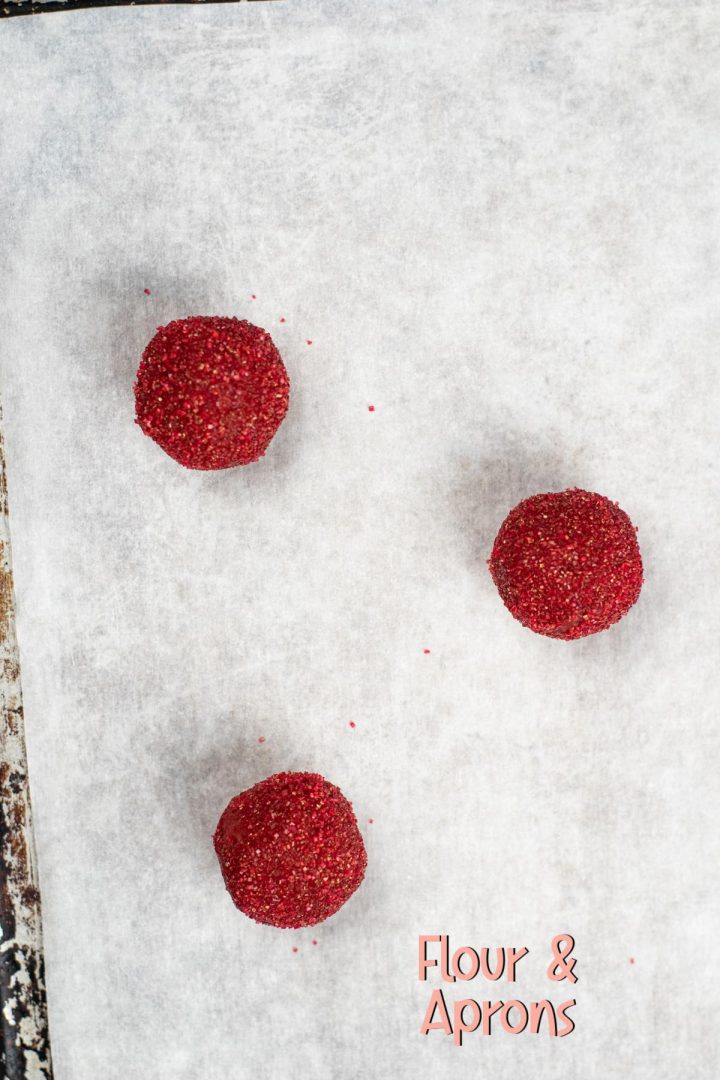
Scoop tablespoon-sized portions of dough, roll them into balls, and coat them in red sanding sugar.
Place them on a parchment-lined baking sheet and press a hole into the center of each with the handle of a wooden spoon or your thumb.


Bake:
Bake at 300°F for 10 minutes.
Remove from the oven, re-press the indentations if necessary, and spoon the chilled filling into each hole.
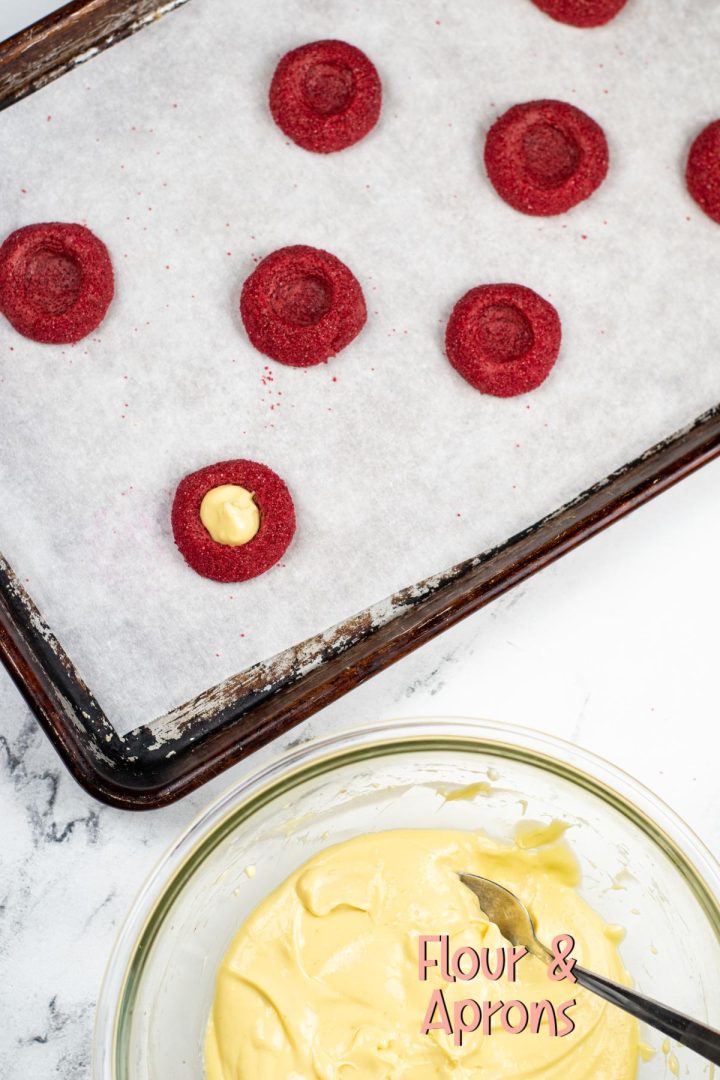
Return to the oven and bake for another 10-12 minutes until the filling is set.
Let them cool on the baking sheet for a few minutes before transferring to a wire rack to cool completely.
Enjoy the rich, velvety texture and festive look of these delightful treats!

More Christmas Cookies
Christmas Meringue Cookies
Gingerbread Tree Cookies
Pecan Pie Cookies
Russian Tea Cakes
Italian Christmas Cookies
Peppermint Patties
Frosted Molasses
Tips for Making the Best Thumbprint Cookies
Here are some tips for making the best red velvet thumbprint cookies:
- Use room temperature, high-quality butter for proper creaming and a tender cookie.
- Don't overmix once flour is added to avoid tough cookies. Just until combined.
- Roll dough into uniform balls so they bake evenly.
- Add enough red food coloring for a vibrant red velvet color.
- Completely coat the balls in red sanding sugar before baking.
- Use your thumb or a wooden spoon handle to make indentations. Don't poke all the way through.
- You can pipe the filling into the indentations using a piping bag or teaspoon.
- Make sure the filling is chilled for at least 30 minutes before using.
- Enjoy cookies within 3-4 days for the best texture and flavor.
Leftovers and Storage
To make sure your Red Velvet Thumbprint Cookies stay fresh and delicious, follow these storage tips:
Cool Completely
Before storing, allow the cookies to cool completely on a wire rack. This prevents condensation from forming inside the storage container, which could make the cookies soggy.
Room Temperature Storage
Store the cookies in an airtight container at room temperature. They will keep well up to 5 days, but consume them within 3-4 days for best taste and texture.
If you layer the cookies, place a sheet of parchment paper between each layer to prevent them from sticking together.
Refrigeration
If your kitchen is particularly warm, or if you prefer your cookies a bit firmer, you can store them in the refrigerator.
The cream cheese filling will stay fresh, and the cookies will firm up slightly. They can be refrigerated for up to a week.
Freezing
For longer storage, you can freeze the cookies. Place them in a single layer on a baking sheet to freeze, then transfer to a freezer-safe container or zip-top bag, separating layers with parchment paper.
They can be frozen for up to 3 months. Thaw at room temperature for a few hours before serving.
Avoid Humidity
Keep the cookies away from humid areas, as moisture can soften them and affect the texture.
Remember, the fresher the cookies are when you store them, the better they will taste when you're ready to enjoy them again.
Frequently Asked Questions
Can I use liquid food coloring instead of gel?
Gel food coloring is recommended because it's more concentrated and won't alter the dough's consistency. If you only have liquid food coloring, you can use it, but you may need a lot more to achieve the same vibrant color, and it could make the dough too wet.
My dough is too sticky to roll, what can I do?
If the dough is too sticky, try chilling it in the refrigerator for a bit longer. You can also dust your hands with flour to prevent sticking while rolling the balls.
How do I know when the cookies are done baking?
The cookies are done when the edges are set and the cream cheese filling is firm to the touch. They may still seem soft in the middle, but they will firm up as they cool.
My filling seems runny, did I do something wrong?
The filling should be thick enough to pipe or spoon into the cookies. Make sure your cream cheese is not too warm and that you've measured all ingredients correctly. If it's still runny, chill it in the refrigerator for a longer period until it firms up.
How can I prevent the cookies from cracking when I press the thumbprint?
If the cookies crack when you're making the thumbprints, it could be because the dough is too cold or not moist enough. Make sure the dough is at room temperature and handle it gently. If it's still cracking, try kneading the dough ball a bit to warm it up before pressing.
More Favorite Cookies

Red Velvet Thumbprint Cookies
Ingredients
- 1 cup butter softened
- ½ cup brown sugar
- 1 egg yolk
- 1 teaspoon vanilla
- 2 cups flour
- 2 teaspoons cocoa powder
- ¼ teaspoon salt
- red gel food coloring
- red sanding sugar
For the Filling:
- 4 ounces cream cheese softened
- ¼ cup sugar
- ⅛ teaspoon salt
- 1 egg yolk
- 2 teaspoons sour cream
- ¼ teaspoon vanilla
Instructions
- Preheat the oven to 300 and line a baking sheet with parchment paper.
- Next make the filling-
- In a medium size bowl with an electric mix together cream cheese, and sugar until well blended. Add in salt, vanilla, egg yolk and sour cream, continue mixing until everything is evenly mixed. Cover the bowl and place in the refrigerator for at least 30 minutes.
- To make the cookies-
- In a medium bowl combine flour, cocoa powder and salt, mix until well incorporated.
- In the bowl of a stand mixer fitted with a paddle attachment cream together butter and sugar.
- Add in egg yolk and vanilla and continue mixing until well incorporated.
- Add the flour mixture in gradually, mixing after each addition, until it is all added.
- Add in about ⅛ tsp of red gel food coloring and continue mixing until it the color is evenly distributed. Add more food coloring if a deeper color is desired.
- Place red sanding sugar in a shallow dish.
- Scoop out dough in tablespoon size scoops and roll into balls.
- Roll the dough balls in the sanding sugar to evenly coat them.
- Place on the prepared cookie sheet.
- Using the handle of a wooden spoon, your finger, or another small round object press a hole in the center of each dough ball.
- Bake for 10 minutes.
- Remove from the oven, gently press in the center of each cookie again and fill with the cream cheese filling.
- Place back in the oven and bake 10-12 minutes or until the filling is set.
- Allow to cool on the baking sheet for 2-3 minutes before removing to a wire rack to cool completely .
- Store in an airtight container.






Leave a Reply